 Skip to content
Curtains, often overlooked, play a crucial role in transforming a house into a warm and inviting home. They are like the finishing touch to a beautiful painting. In this easy guide, we will show you how to make curtains – a process that adds a personal touch and saves you money. It is a satisfying journey that leads to custom-made drapes that perfectly match your style. Let us dive in and discover the joy of creating something special!
TABLE OF CONTENTS
ToggleHow to Make Curtains: Essential Materials You'll Need

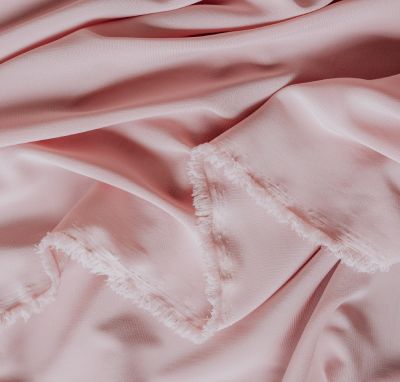
Fabric: Choose a fabric that suits your style and complements your decor. Cotton and linen blends are popular choices for their durability and ease of handling.
Measuring Tape: This handy tool ensures accurate measurements, so your window coverings fit your windows perfectly.
Sewing Machine: If you have one, a sewing machine speeds up the process. Don’t worry if you don’t have a sewing machine, hand sewing is just as effective!
Thread: Select a strong thread that matches or complements your chosen fabric.
Needles: If you are hand-sewing, make sure you have a selection of needles in different sizes for different fabrics.
Pins: These keep your fabric in place while you work, ensuring precise seams.
Iron and Ironing Board: Pressing your fabric before and after sewing gives your curtains a polished look.
Scissors: Sharp fabric scissors are essential for effortless material cutting.
Curtain Rod: You’ll need a way to hang your beautiful creations!
→Lining (Optional): If you want to add extra insulation or privacy, consider using a lining fabric.
Bonus Tips for Finding Quality Materials♥
- Visit local fabric stores or check online marketplaces like Etsy or Amazon for a wide selection.
- Look for customer reviews to ensure you are getting good-quality materials.
- Do not hesitate, to ask for recommendations from fellow DIY enthusiasts or online crafting communities.
- With these materials in hand, you are all set to embark on your curtain-making adventure!
Step 1: Selecting the Right Fabric
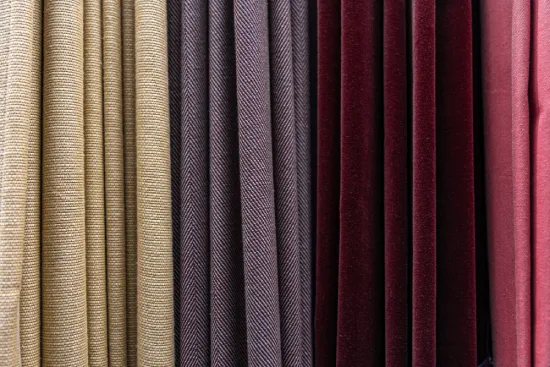
Selecting the appropriate fabric is a crucial step in learning how to make curtains. It sets the tone for your curtains and affects how they will hang and drape. Let us break it down:
- Cotton: A versatile and popular choice. It is easy to work with and suits most rooms. It provides a clean and casual look.
- Linen: Adds a touch of elegance. Linen curtains have a beautiful drape and let in a soft, diffused light.
- Silk: Ideal for formal spaces. Silk curtains exhibit luxury and create a stunning, ambiance.
- Polyester: Durable and budget-friendly. It is a good option for high-traffic areas or if you have pets.
- Velvet: Perfect for adding warmth and a touch of luxury. Velvet curtains create a cozy, inviting atmosphere.
Step 2: Consider Room Suitability:
- Living Room: Select fabrics like cotton or linen for a comfortable, inviting feel.
- Bedroom: Luxurious fabrics like silk or blackout curtains for a restful sleep.
- Kitchen: Lighter fabrics that let in natural light, such as sheer or cotton blends.
- Kids’ Room: Durable, easy-to-clean fabrics like polyester are a smart choice.
Patterns, Textures, and Colors:
- Patterns: Choose patterns that complement the overall color scheme. Subtle stripes or geometrics can add interest without overwhelming the space.
- Textures: Mixing textures adds depth. Consider pairing smooth fabrics with a bit of texture for visual appeal.
- Colors: Neutral colors offer versatility and longevity. Bold colors or patterns can make a statement and become a focal point.
Remember, when learning how to make curtains, it is your personal touch that makes the difference.
Step 3: Measurement and Sizing
When learning how to make curtains, getting the measurements right is the key. In order to create curtains that fit your windows perfectly.
1
Width Measurement
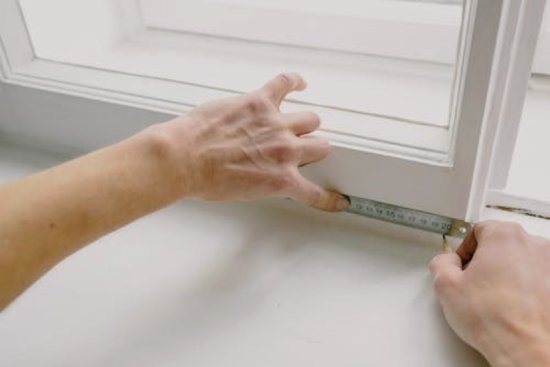
- Start by measuring the width of your window from one end of the frame to the other.
- For a fuller look, add about 4 to 8 inches to this measurement. This extra fabric will allow the curtains to bunch up nicely when closed.
2
Length Measurement:
- Measure from the top of the window to where you want the curtains to reach.
- This could be just below the windowsill, to the floor, or even pooling on the floor for a dramatic effect.
3
Consider Hem Allowance
If you are using a sewing machine, remember to put the hem at the top (where the curtain will attach to the rod) and at the bottom (for a neat finish)
Tips for Achieving the Desired Length and Width:
→ Use a sturdy measuring tape and ensure it is straight for accurate measurements.
→Double-check your measurements before cutting the fabric to avoid any mishaps.
→If in doubt, it is always better to start with longer measurements. You can trim excess fabric later, but you cannot add it back.
By following these simple steps and useful tips, you’ll soon master how to make curtains that complement your space perfectly!
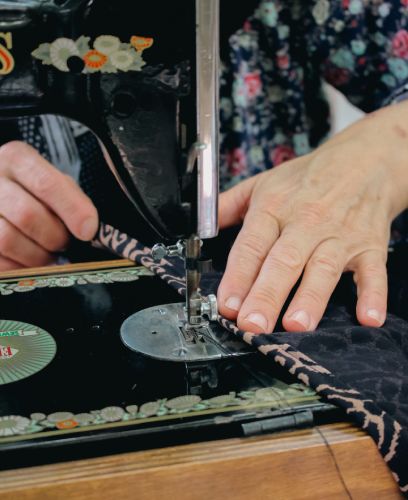
Step 4: Cutting and Preparing the Fabric
Now that you have chosen the perfect fabric, it is time to turn it into beautiful curtains. Here is how to make curtains:
1
Measure Twice, Cut Once
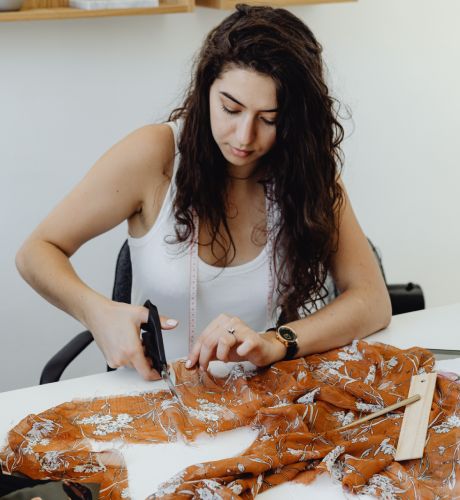
Lay out your fabric on a flat, clean surface. Double-check your measurements to ensure accuracy. Use a straightedge or a yardstick to guide your cuts.
2
Mark and Cut
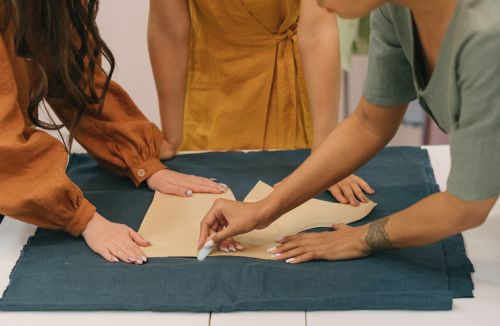
Using fabric chalk or a washable marker, mark the measurements you have taken. This will serve as your cutting guide. Gently cut along the marked lines
3
Hemming Edges
To prevent fraying, fold over the edges of the fabric and press them with an iron. This creates a neat, finished edge.
4
Preparing for Sewing
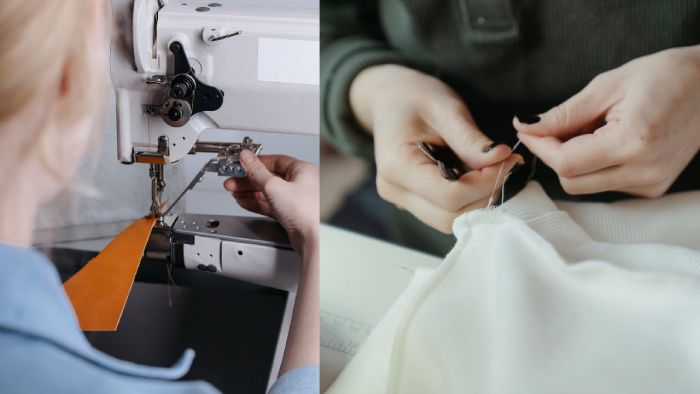
If you are using a sewing machine, ensure it is threaded properly and that you have the correct needle for your fabric type. If hand-sewing, choose a strong thread that complements your fabric.
Step 5: Adding Additional Features (Optional)
Linings
Adding a lining can enhance the look of your curtains and provide extra benefits. Thermal linings help insulate your home, while blackout linings block out light for a restful sleep.
Trims and Edgings
Choose from a variety of trims, like tassels, fringes, or braids, to add a decorative touch to the edges of your curtains. This can create a custom, tailored look.
Tie-Backs
Functional and stylish, tie-backs hold your curtains in place when open. They come in various materials and designs, allowing you to match or contrast with your curtains.
Valances
Valances are decorative fabric pieces that cover the top part of your curtains. They can add an elegant touch or create a layered look.
Grommets or Rod Pockets
Consider using grommets or rod containing rings & pockets for a modern, clean finish. These features also make it easy to slide your curtains onto the rod.
Step 6: Hanging and Styling
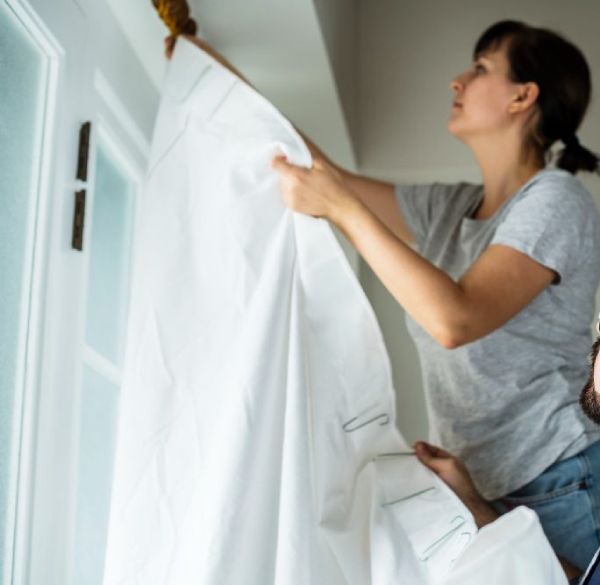
Once you have learned how to make curtains, it is time to put them up! Here is how to hang them for a polished finish:
⇒ Choosing the Right Hardware: Select a curtain rod that looks good for your decor. Make sure it’s sturdy enough to support the weight of your curtains.
⇒ Measuring for Height: Position the rod or track approximately 4-6 inches above the window frame to create the illusion of higher ceilings.
⇒ Positioning the Width: Extend the rod or track beyond the width of the window to allow your curtains to fully cover the window when drawn.
⇒Rod Pocket Curtains: For curtains with rod pockets, simply slide the rod through the pocket.
⇒ Grommet Curtains: Thread the rod through the grommets evenly. This style provides a smooth look.
Styling Tips:
- Layering Curtains: Combine sheer curtains with heavier ones for a versatile look. Sheers allow light in during the day while maintaining privacy.
- Floor-Length Drama: Let your curtains pool on the floor for a luxurious, elegant feel.
- Tie-backs or Holdbacks: Use tie-backs to hold the curtains to the sides when open. This adds a decorative touch and allows more light into the room.
- Balancing Patterns and Solids: If you have patterned curtains, balance them with solid-colored accessories and vice versa.
Remember, the way you hang and style your curtains greatly impacts the overall look of your space. Experiment with different options to find the style that suits your taste and decor!
Extra step: Care and Maintenance
Now that you learned how to make curtains, let us take care of our homemade curtains for beautiful for years to come.
♣ Regular Dusting: Gently dust your curtains with a soft brush or vacuum attachment to prevent dust buildup.
♣ Spot Cleaning: To tackle small stains, employ a damp cloth with a gentle detergent. Gently dab the stain and allow it to air dry.
♣ Machine-Washable Fabrics: If your curtains can go in the washing machine, opt for a gentle cycle and cold water. Avoid harsh detergents and bleach.
♣ Hand-Washing: Delicate fabrics may require hand washing. Use a mild detergent, and gently agitate the fabric. Rinse thoroughly and air dry.
♣ Avoid Sun Damage: To prevent fading, consider using curtain liners or blinds to shield them from direct sunlight.
♣ Professional Cleaning: If your curtains are delicate, think about using professional cleaning services. Remember to always check the care instructions provided by the fabric manufacturer.
Also learn How to clean and wash curtains (Read more)
How to Wash Curtains
How to Wash Blackout Curtains
How to clean sheer curtains
SUMMARY
Making your own curtains is not just a creative struggle; it is a journey that leads to unique, personalized decor. To summarize:
- Measure: Accurate measurements ensure a perfect fit for your windows.
- Select Fabric: Choose a material that suits your style and the room’s purpose.
- Cut and Prepare: Take your time to cut and prepare the fabric properly.
- Add Features (Optional): Linings, trims, and tie-backs can add a special touch.
- Hang with Care: Proper installation elevates the look of your curtains.
Embarking on this curtain-making journey is cost-effective as well as immensely satisfying. Your custom-made curtains will be proof of your creativity and craftsmanship. So, gather your materials, follow the steps, and learn how to make curtains!
If you have any questions, suggestions, or concerns, please feel free to leave a comment below. Your input is valuable to us!

et quo animi quam quos est reprehenderit ea repellendus soluta facilis amet numquam dicta et consequuntur ut vel assumenda architecto dolorum. est impedit possimus molestias nihil quas error sed conse